Ask anyone about Spanish food and it is pretty likely they will wax lyrical about paella. It is a fantastic dish and even though we eat it just about every Sunday, I never grow tired of it. Seasonal and regional varieties abound. Near the coast it is usually cooked with seafood but we live inland, so our typical ingredients include chicken, rabbit and locally produced vegetables. In January, cauliflower is at its best, so we do a cauliflower, spring garlic and pork version. In March the broad beans are just tender little blips and mix beautifully with artichokes for our favourite spring paella.
The way paella is cooked varies slightly from town to  town – even from house to house. For example, just a kilometre away from where we live, they fry the rice before adding the stock, something we never do. The one thing that everyone agrees on is that you need a good, heavy caldero or paella dish like the ones pictured here, and plenty of experience to be able to produce a perfect paella, especially if you are cooking it over an open fire.
Some say that it is impossible to make a decent paella anywhere but here in Valencia (the local giant paella makers Galbis go so far as to take everything – even their own water – with them wherever they go to try to emulate the local flavour as closely as possible), but you can have a pretty good go and with a bit of practice will be enjoying a truly fabulous rice dish, even if it doesn’t taste exactly the same as what we have here.
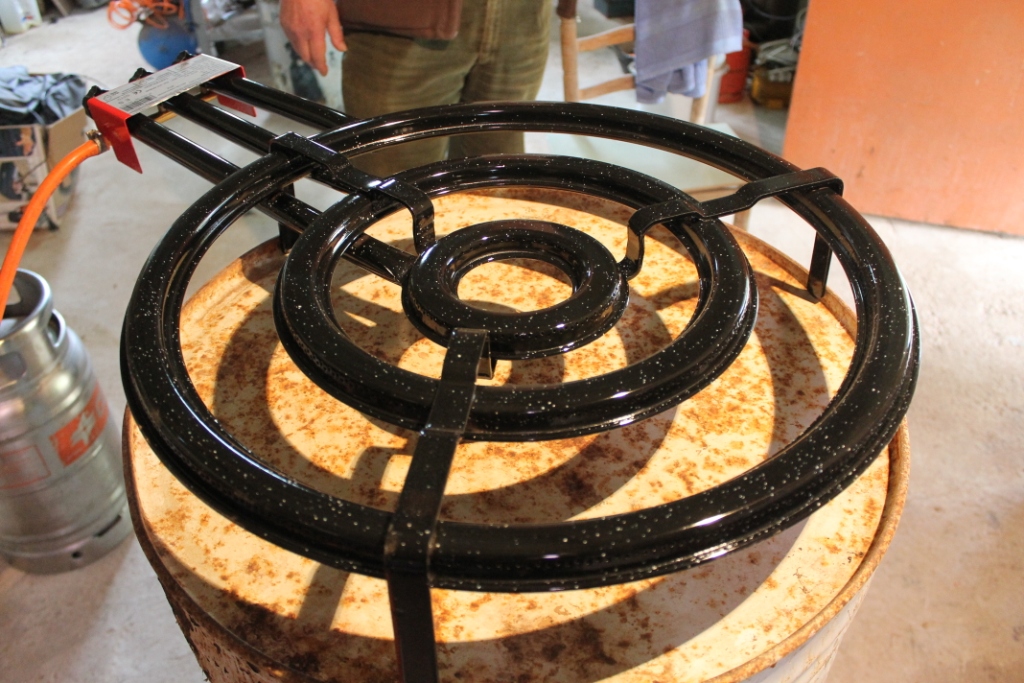
Cooking over an open fire can be really  tricky, even for seasoned paella cooks, so see if you can get your hands on one of these paella rings – they plug into a gas bottle and give really good control over the flames. For two people you might get away with cooking the paella in a large frying pan, but ideally you need a caldero.
Although serving paella on plates is perfectly acceptable it is more authentic to gather your chairs around and eat directly from the caldero. It’s fun as long as everyone follows the basic paella-eating rules:
Mentally divide the paella into pie-slices for each person. You are not allowed to eat from anyone else’s slice or break the barrier between your slice and the person next to you without permission. Interestingly, the size of this barrier is a pretty accurate indication of the relationship between neighbouring eaters. The smaller it is, the closer they are.
If there is something you don’t want in your slice, you can flick it gently into the centre with the handle end of your spoon (never the bowl). Start eating from the edge and work your way inwards dragging the rice towards the rim with your spoon and squashing the spoonful flat against the inner wall of the pan to avoid dropping grains of rice all over the place.
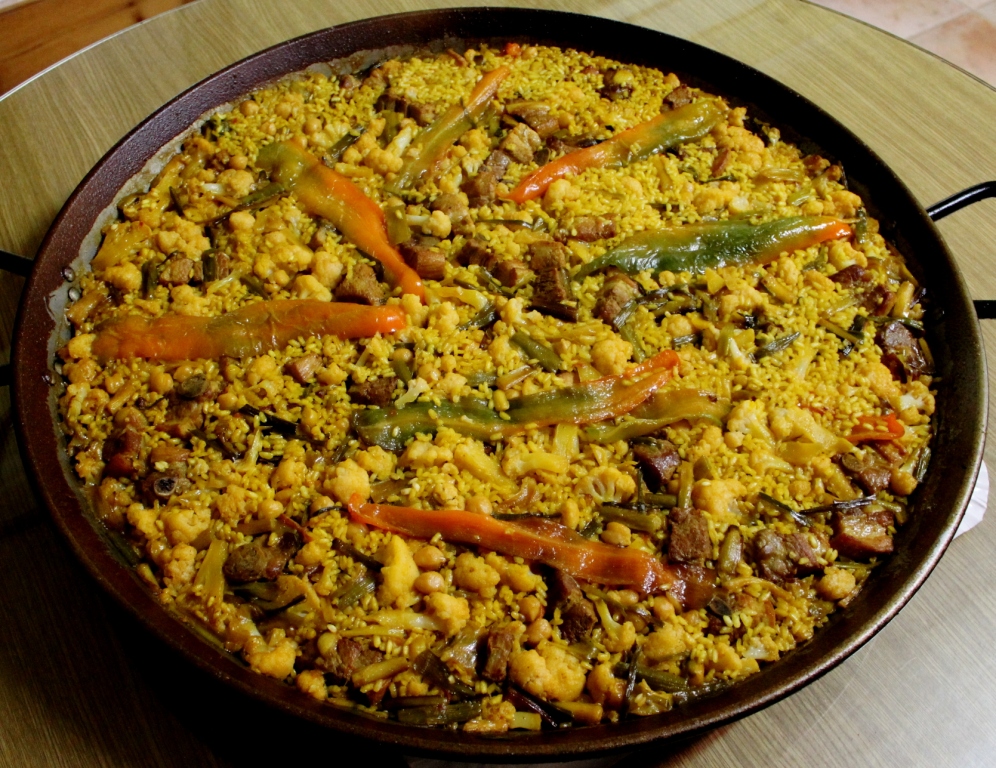
Paella with cauliflower, pork and ajos tiernos
Oscar’s uncle Rafa is usually in charge of cooking Sunday lunch but today he was otherwise engaged so my father-in-law Eduardo took up the long-handled spoon. It was unbelievably windy, so an open fire was out of the question. We huddled in the shed and cooked the paella over a gas flame. Not exactly picturesque but unbelievably good all the same! We used a kilo and a quarter of rice, enough for about 12-15 people. As Eduardo points out, the amount you cook depends on who is eating, how much people nibble beforehand and how much you want left over for later. It is almost impossible to give accurate measurements for the ingredients, I have recorded what we used today but every paella will be slightly different. The amount water is the hardest thing to get right and trial and error is an unavoidable part of becoming a proficient paella chef!
Cauliflower is at its best right now and the normal accompanying vegetable is what we call ajos tiernos. They are sort of like spring onions but in garlic. I have no idea if these are available outside Spain – spring onions and normal garlic are NOT the same and would not work here – best to just leave them out if you can’t find them.
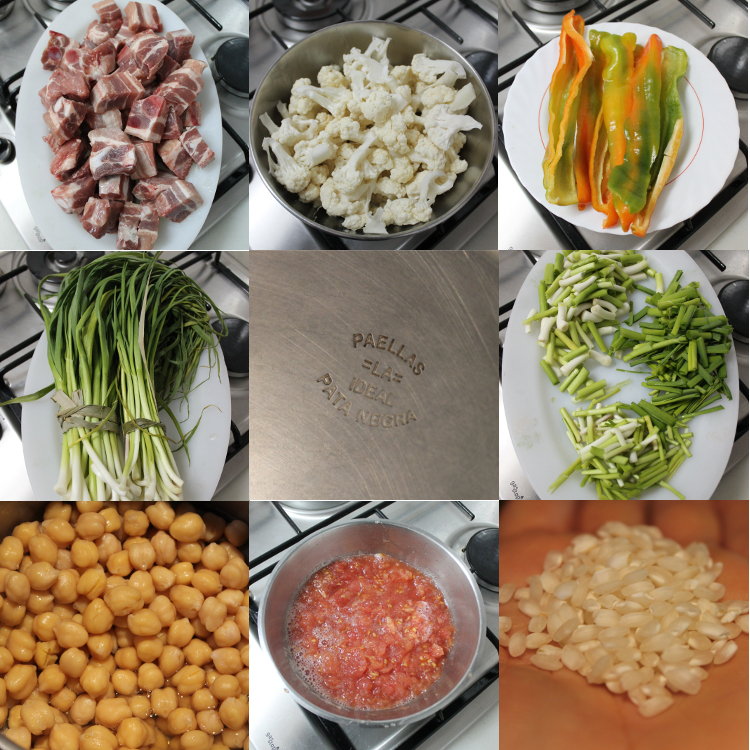
What you need:
200ml olive oil
1½kg pork rib in bite-sized pieces
a bunch of ajos tiernos cut into 3cm lengths*
a medium-sized cauliflower broken into florets
4 pear tomatoes, grated (discard skin)
2 capsicums torn into pieces
1¼ kg rice
250g chickpeas, soaked and pre-boiled
sweet paprika
orange food colouring
salt
*you will have to add the pieces according to size so that the smaller pieces don’t burn. First the thickest white parts, then the thinner white parts and finally the green sections.
What you do:
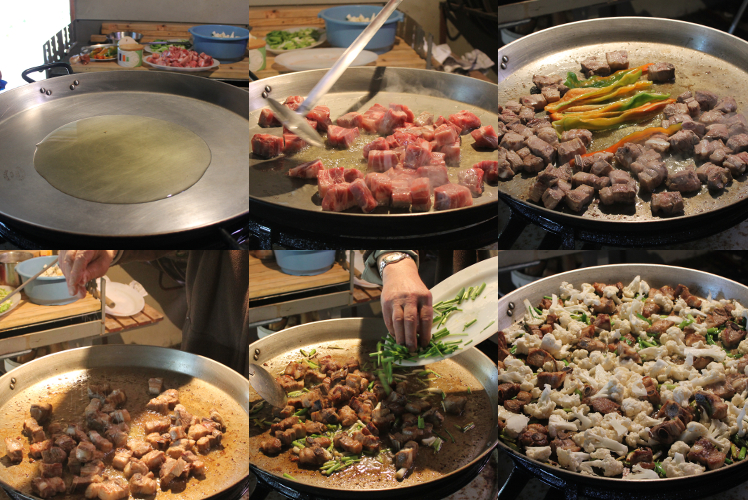
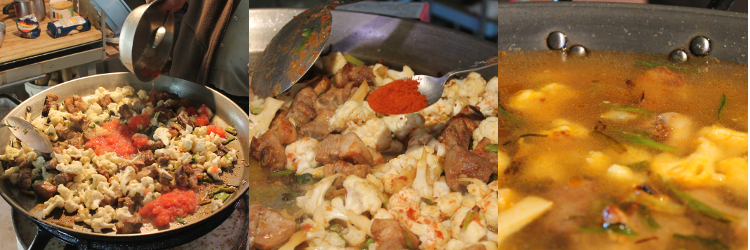
Set the caldero on the gas rings and make sure it is level. Pour in the oil and heat. Add pork and brown well. Lightly fry the capsicum until it softens slightly then remove and set aside. Season the meat. Add the thickest pieces of the ajos tiernos and fry for about 30 seconds. Follow with the smaller sections and then about 30 seconds later the thin green parts. Pop the cauliflower in and stir well to coat everything with a little oil. A long handled spoon or a pair of long tongs is essential for this if you are using a large caldero.  When everything is sizzling away nicely, add the tomato to deglaze the pan. Fry slightly then add a spoonful of sweet paprika. Stir and cook for about half a minute, taking care not to burn the spice. Now it’s time to put the first lot of water in. Pour it in until it reaches the screws on the side of the caldero. I think we put in about 2½ litres today, adding a little later after the first boil.
  It’s a good idea to keep seasoning as you go – Eduardo says “better to add a little salt five times than a lot twice”. Check everything is comfortably under water and bring to the boil. This initial cooking period will soften the vegetables and tenderise the meat. It also gives the cook a chance to grab a beer and some olives or cheese!
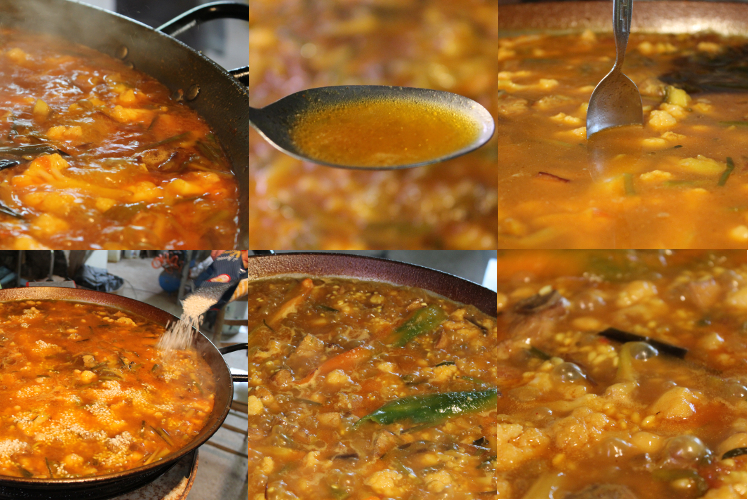
Things should be looking pretty well cooked after 15 minutes or so boiling. That means it is time to get ready to add the rice. Top the water up to the screws again (when you stand a spoon up in the middle of the pan, the liquid should reach about half-way up the bowl – see the photo) and season with a little more salt. Add your food colouring, pop the chick peas in and give everything a final, gentle stir. Once you put the rice in you can just gently poke things into place, but any major spoon action is forbidden. Gently lay your fried capsicum pieces over the top of everything and then get the water boiling nicely again. Pour in the rice, making sure it is spread evenly around the pan. Use a spoon to push and poke any visible grains under the water and off the vegetables but don’t stir!  Rice needs to dance as it cooks so that it doesn’t go all gluggy and sticky. Bring the water up to a steady, rolling boil. Try the stock for salt remembering that the flavours will become more concentrated as all the water evaporates.
The rice we use here takes about 20 minutes to cook through by which time all the liquid should have disappeared. You can’t add water after it’s started cooking so you need to control the flames carefully. If it looks as though there is too much water, turn up the heat. Too little water and you will need to turn the flames right down and, if necessary, cover everything with some tinfoil to let the steam help the rice cook through. If things go to plan, your rice should absorb all of the liquid and form a crusty, caramelised layer underneath. This is called socarrat and everyone will want some.
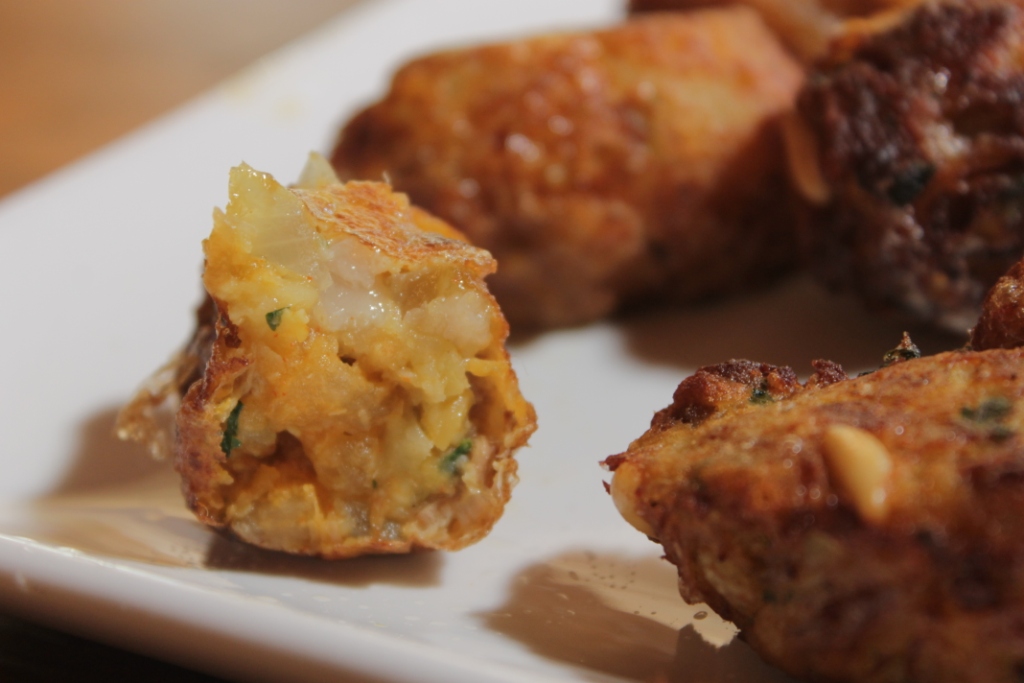
Once all the water has evaporated and your rice is cooked, take the pan off the heat and, if you can bear to wait, leave it to cool for about 10 minutes before serving onto plates or, Valencian style, eating directly from the pan. This last option requires special knowledge of paella-eating etiquette (see above).

Serve with: wine in winter, beer or icy sangría in summer…

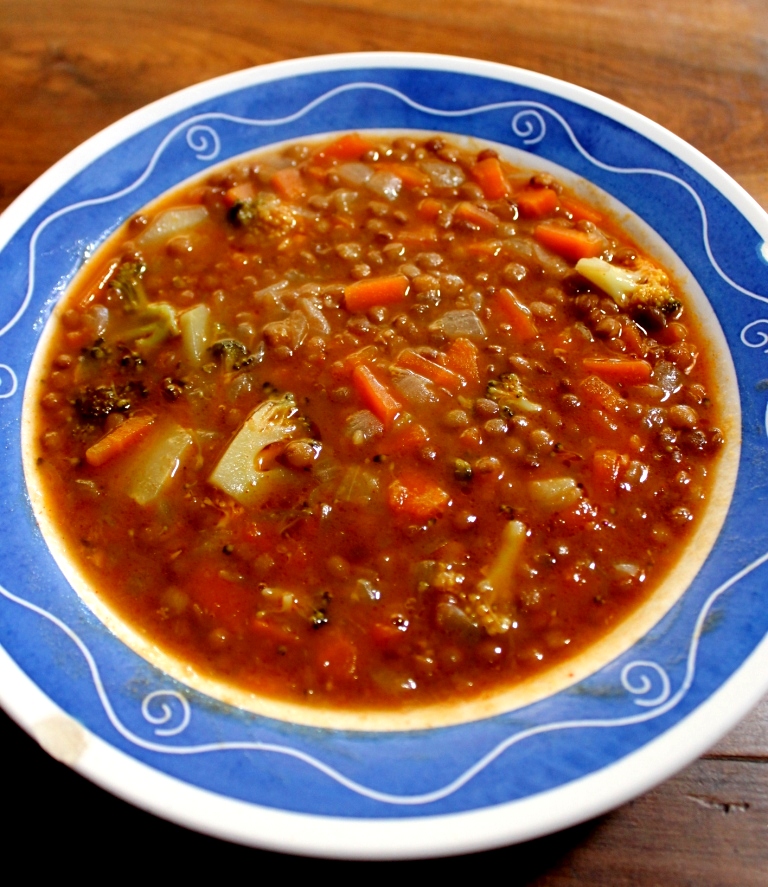
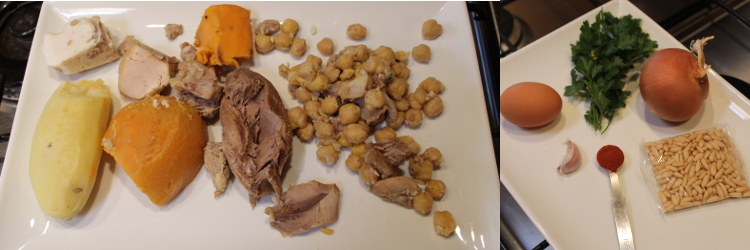 leftovers from the putxero