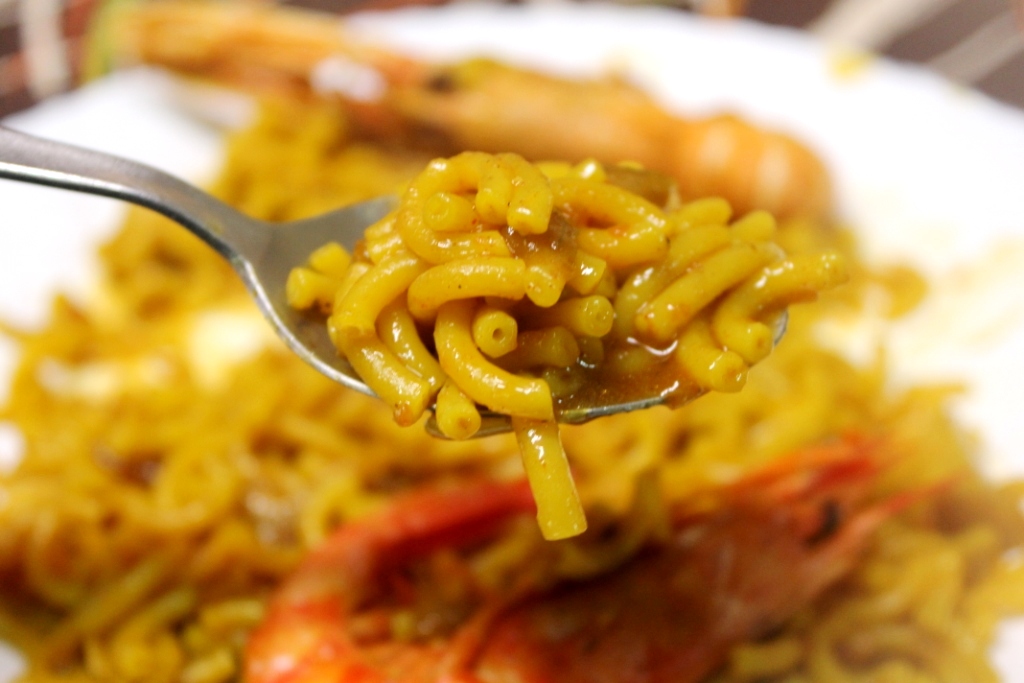
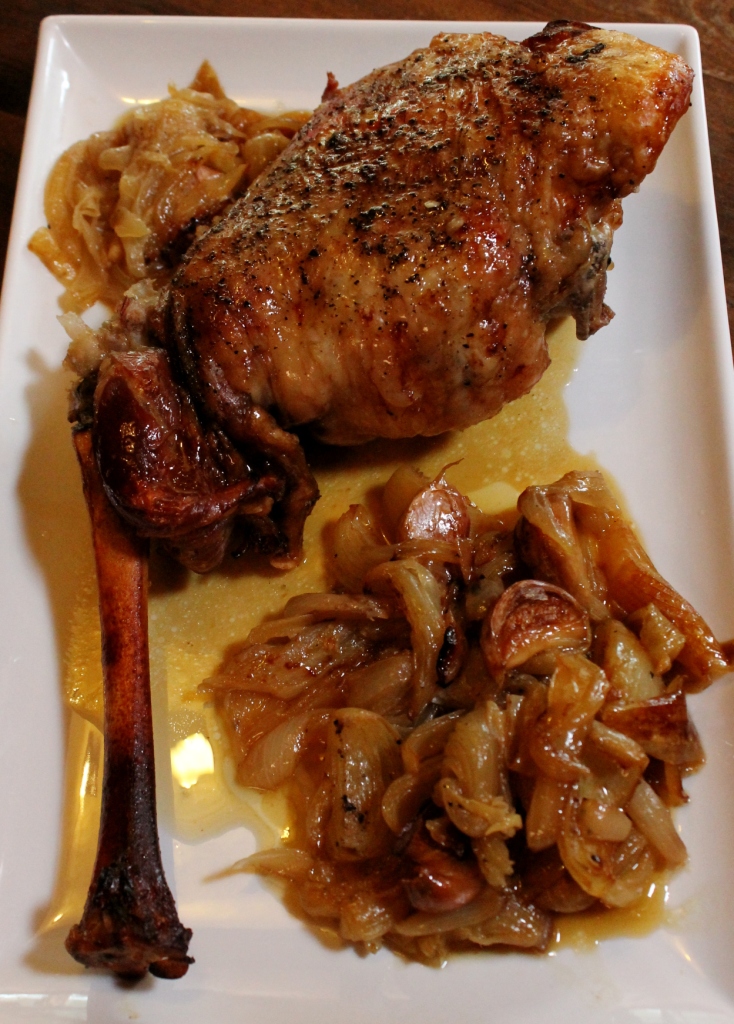
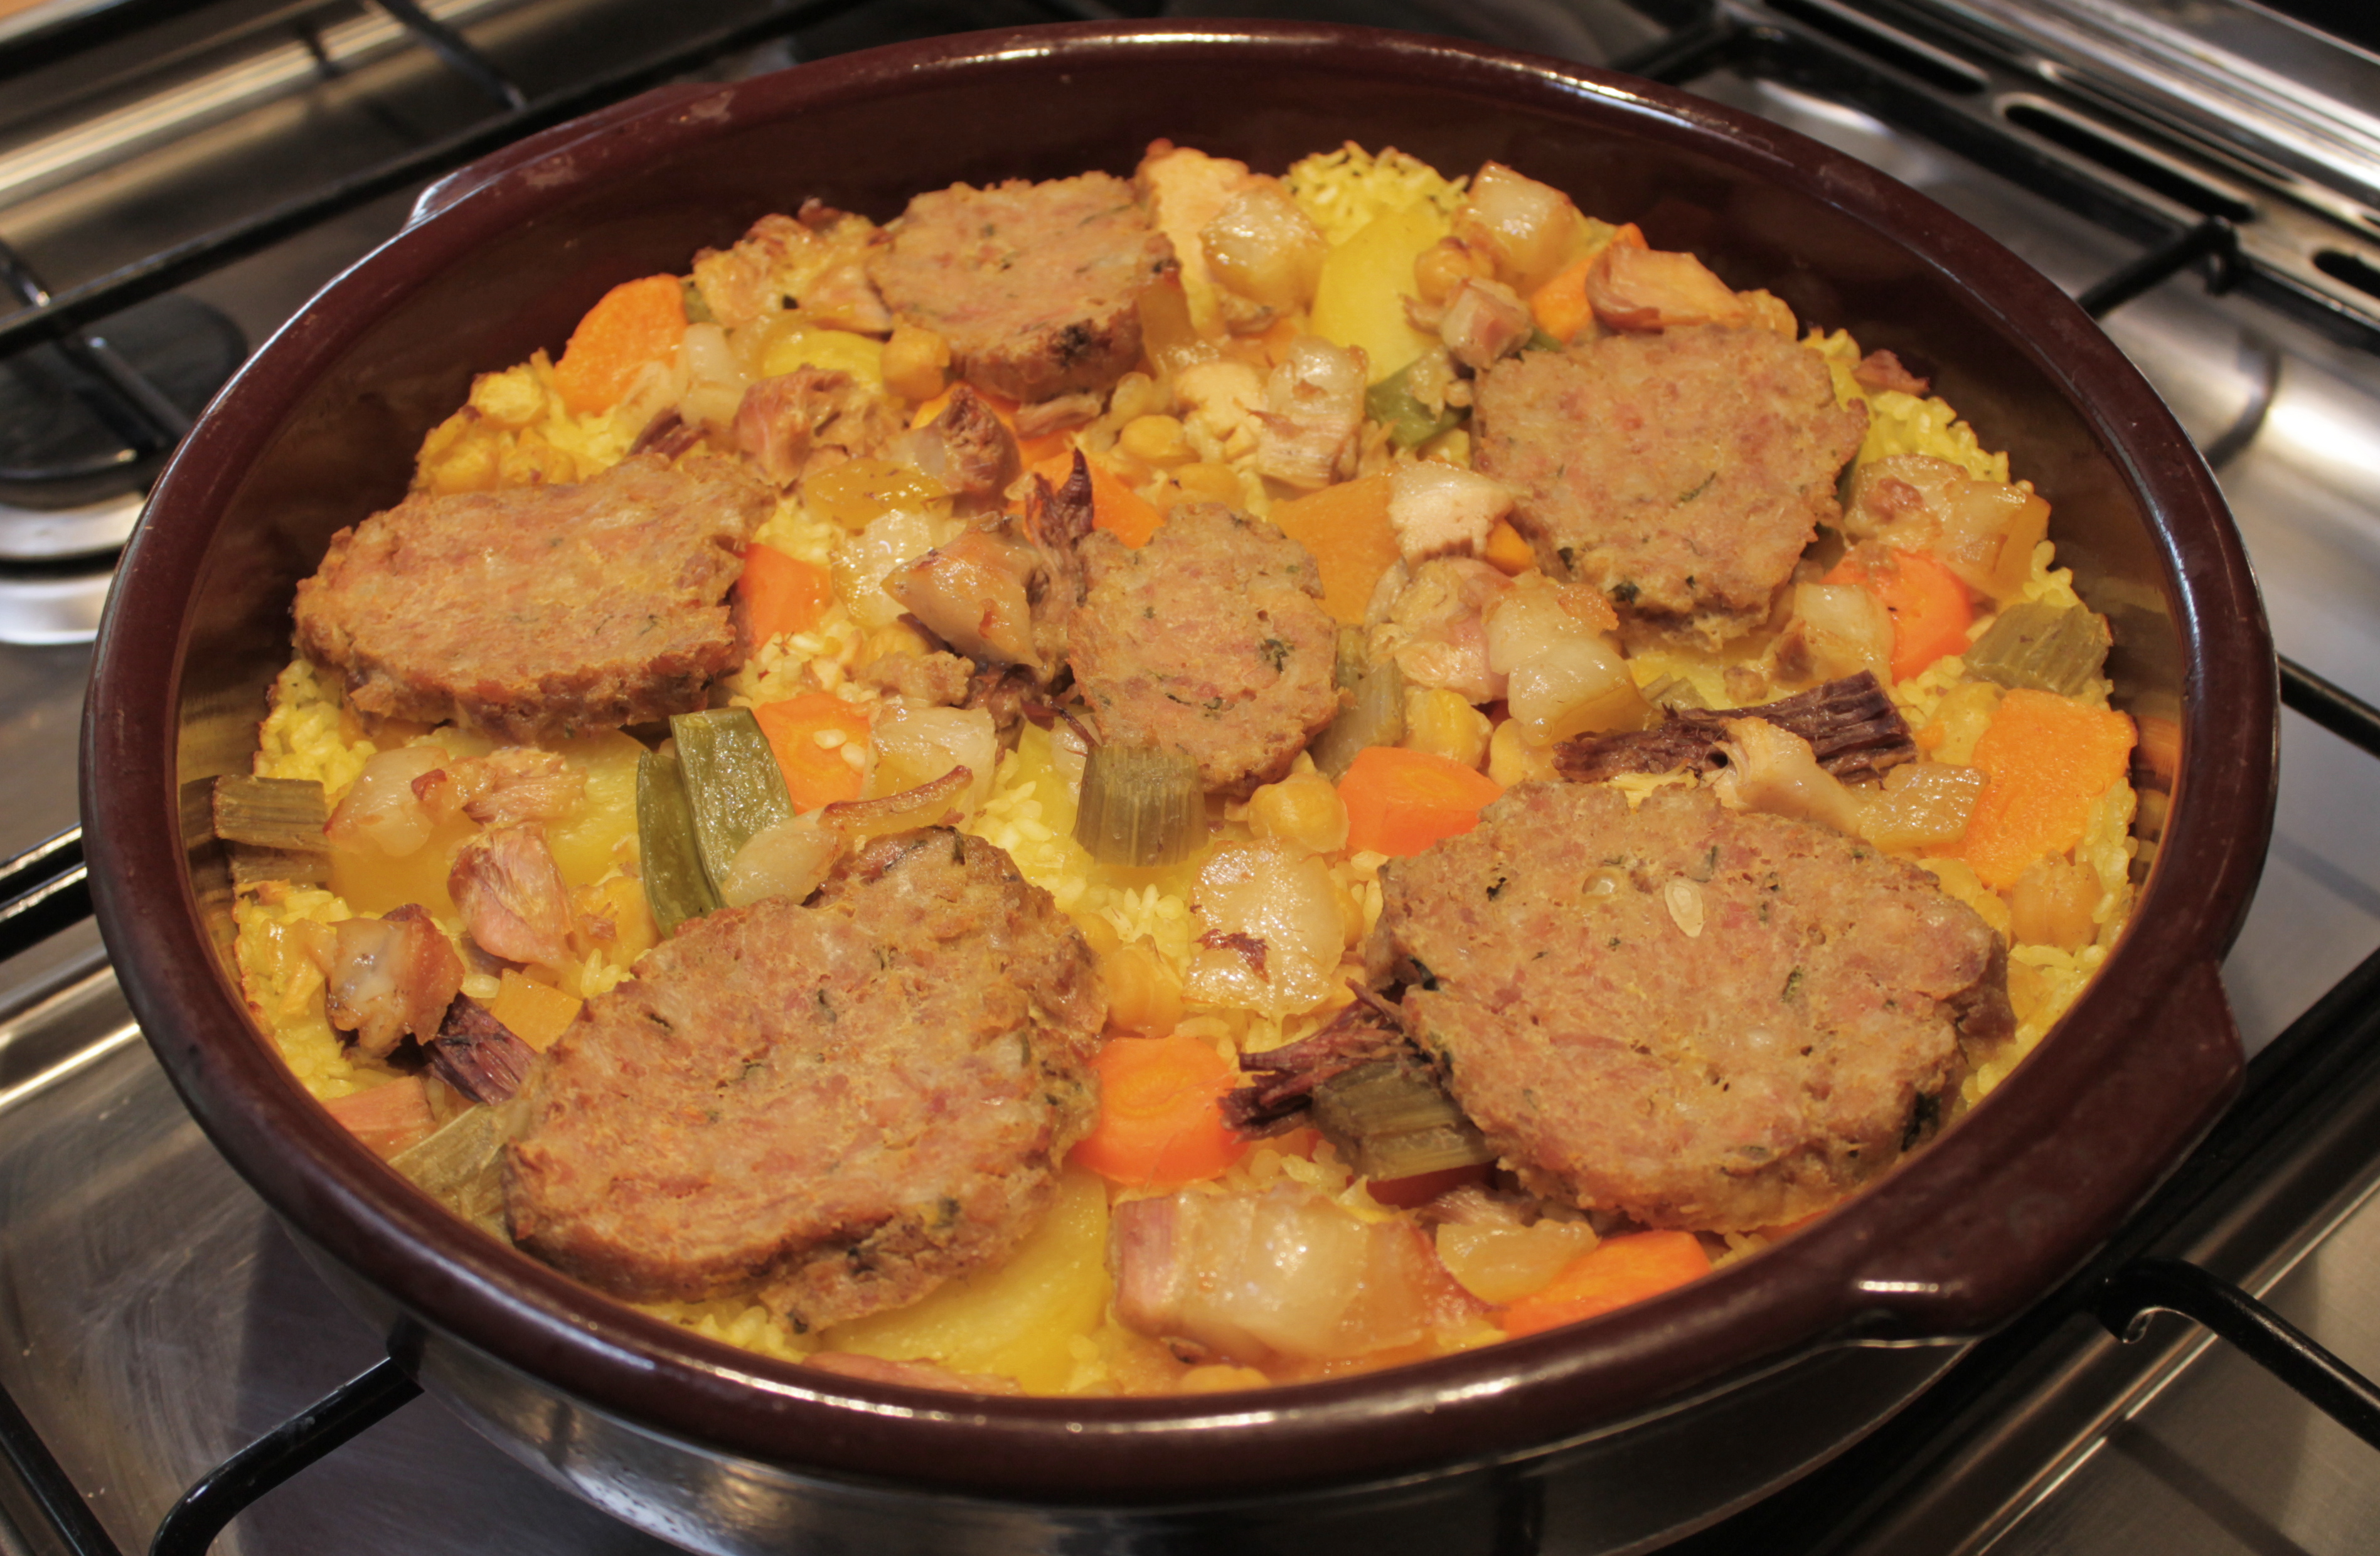
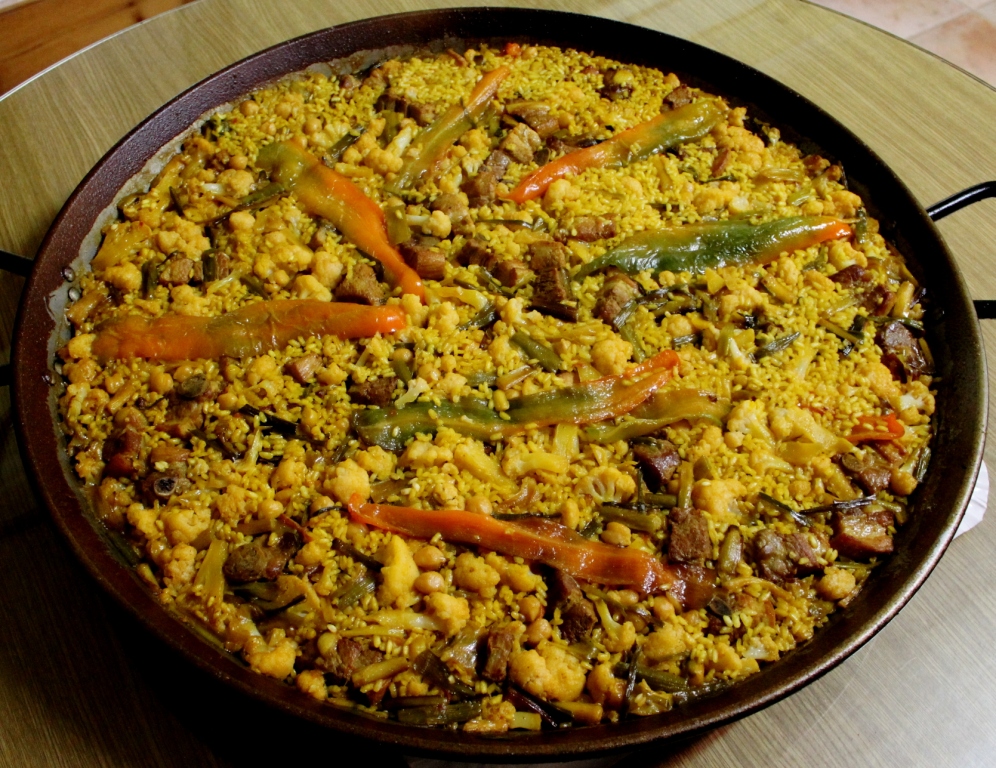
This recipe is a lot like the typical Valencia paella, but instead of being cooked in a caldero until the liquid is completely evaporated, it is cooked in a saucepan until soupy. It follows the same principles as Winter Rice, but uses different ingredients which are in season in summer. Iaia always uses organic, free-range chicken, which needs to be boiled for about 20 minutes on its own before you put the beans in. If you are using a normal chook, you can put the veg in when you add the water.
The last time I was in Australia, I tried to find a butcher who would saw some chicken up into paella-sized pieces for me, but it was impossible (mutterings about cross-contamination), so I made it with 2 whole drumsticks and cut the wings into pieces myself.
The quantities here are for four people, calculating about 60 grams of rice per head. Adjust this and the amount of water as necessary, remembering that you want a soupy finish, not risotto-like creaminess.
What you need: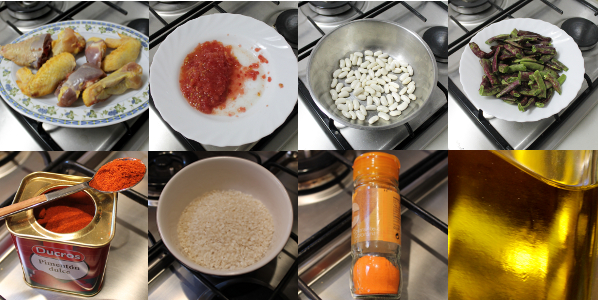
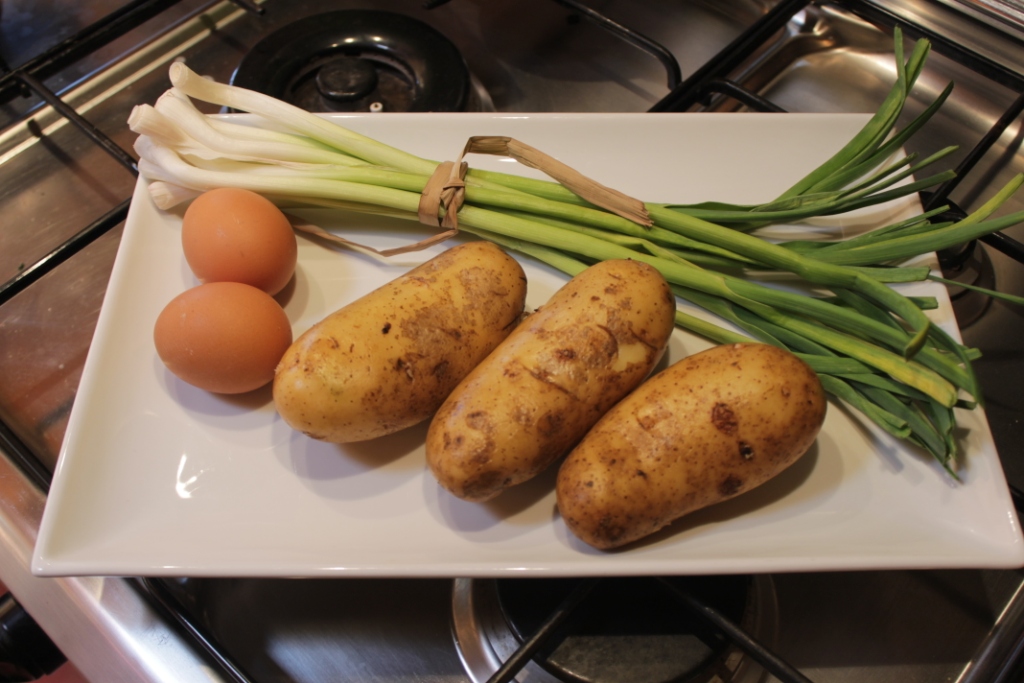
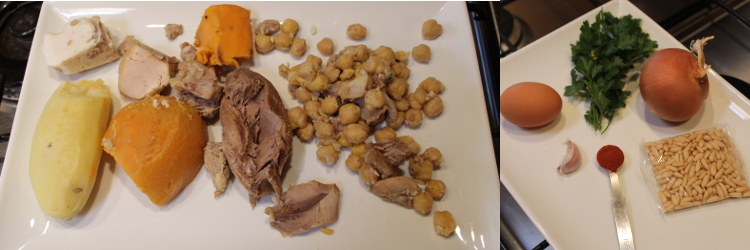
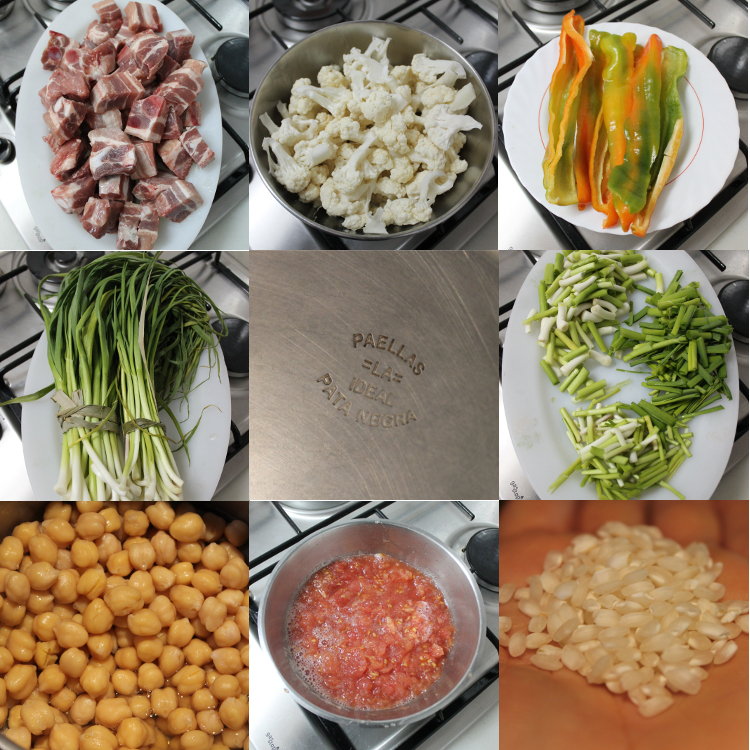
600 g chicken
250g flat green beans*
100g fresh navy beans *
1 prune tomato, grated
125ml olive oil
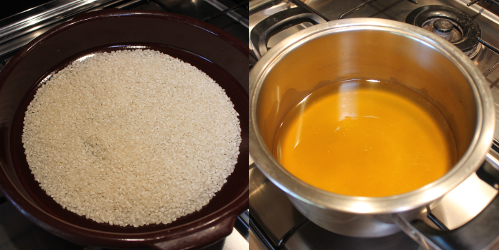
250g short-grain rice
1 tsp sweet paprika
saffron or food colouring**
1200ml water
*Iaia has some things to say about these ingredients:
The variegated flat beans are tastier and go green upon cooking, so if you can find them, all the better. Otherwise, plain flat green beans will have to do. French runner beans don’t taste nearly as good but will also have to do if there really isn’t anything else.
If you use bottled navy beans, add them about 10 minutes before the end of the cooking time, or they will collapse into a floury mess.
**See my note in Winter Rice about food colouring
What you do:
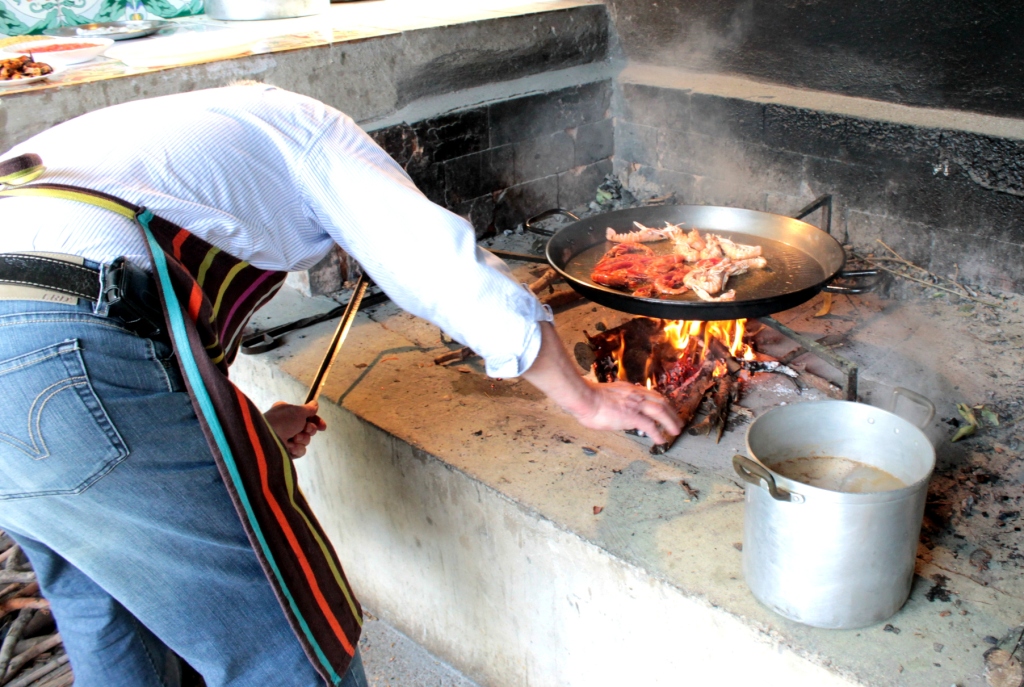
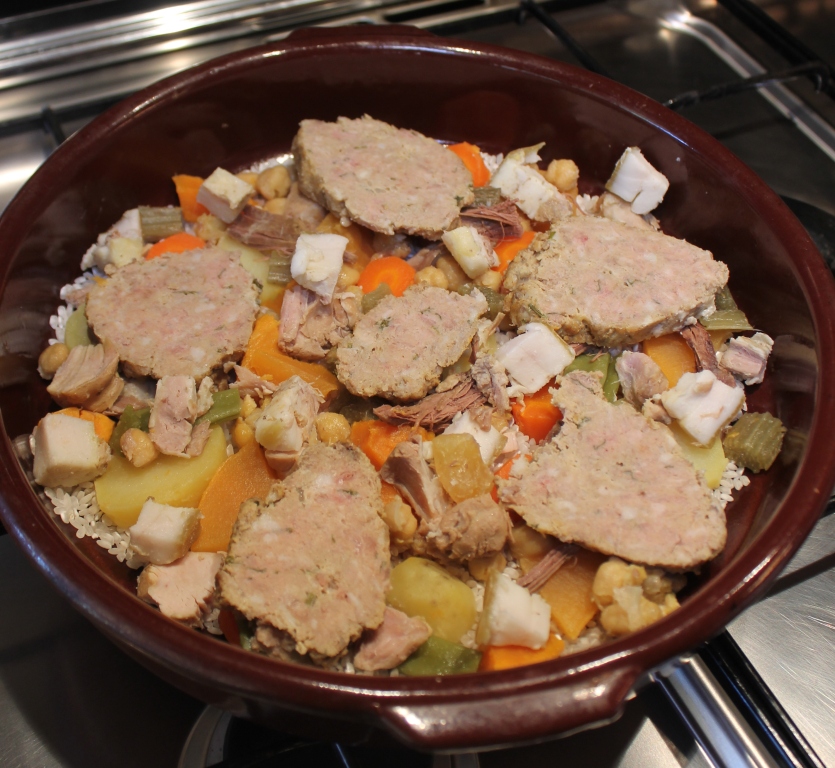
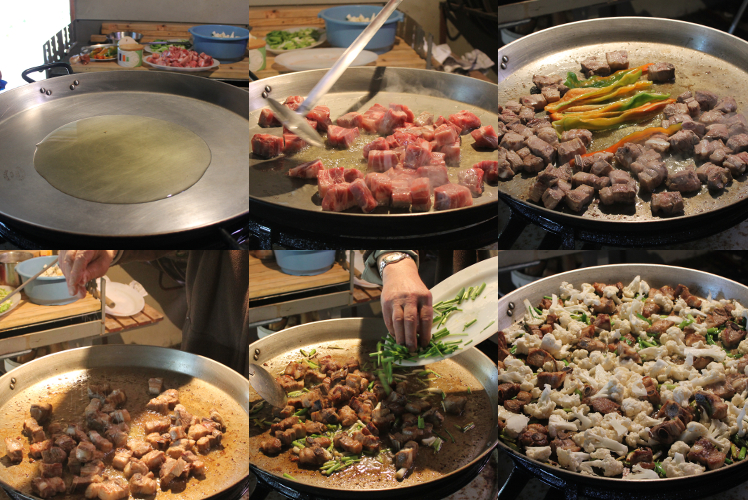
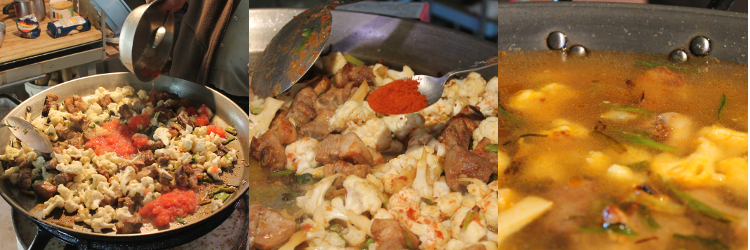
Heat the oil in a heavy-based saucepan that is big enough to hold everything and then chuck the seasoned chicken pieces in to brown. Once they are looking golden, add the grated tomato and fry for 3-4 minutes. Just before you add the water, put the sweet paprika in and stir it around for just a few seconds, making sure it doesn’t burn and go bitter, then pour in all of the water and bring it to a boil. If you are using organic chicken, cover and let simmer for 20 minutes before adding the beans, otherwise put them in straight away, add the saffron/food colouring and another pinch of salt, cover and simmer everything for an hour or so. 
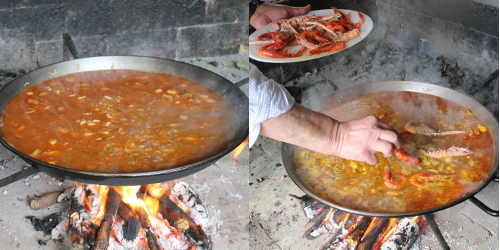
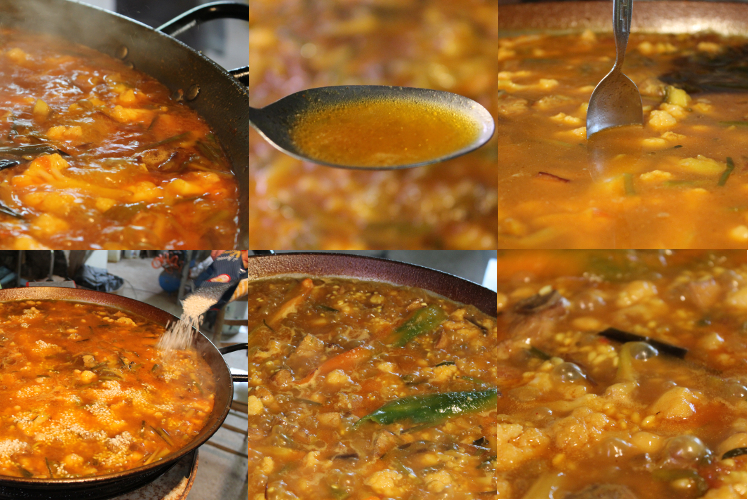
As with Winter Rice, you can switch everything off at this point and leave it ready to be heated up when you want to eat it. About half an hour before you do want to serve it, bring your stock to a boil, check the seasoning and add the rice. Don’t overcook or evaporate all the liquid!
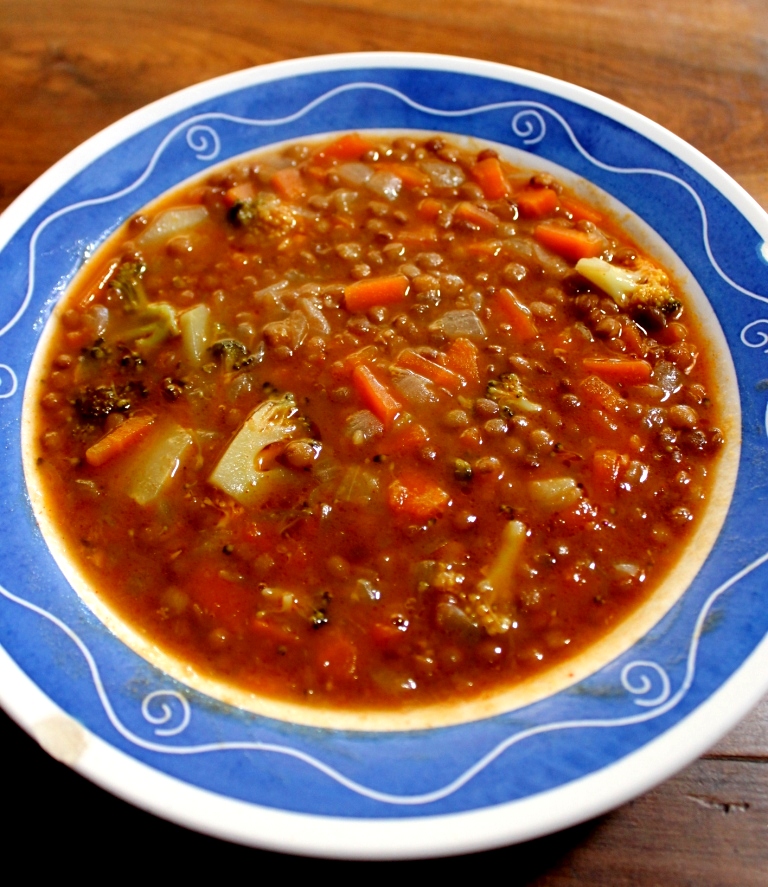
Ladle into bowls and then leave it to cool while you have a pre-lunch drink and some nibbles, it will taste better, and you won’t burn your tongue.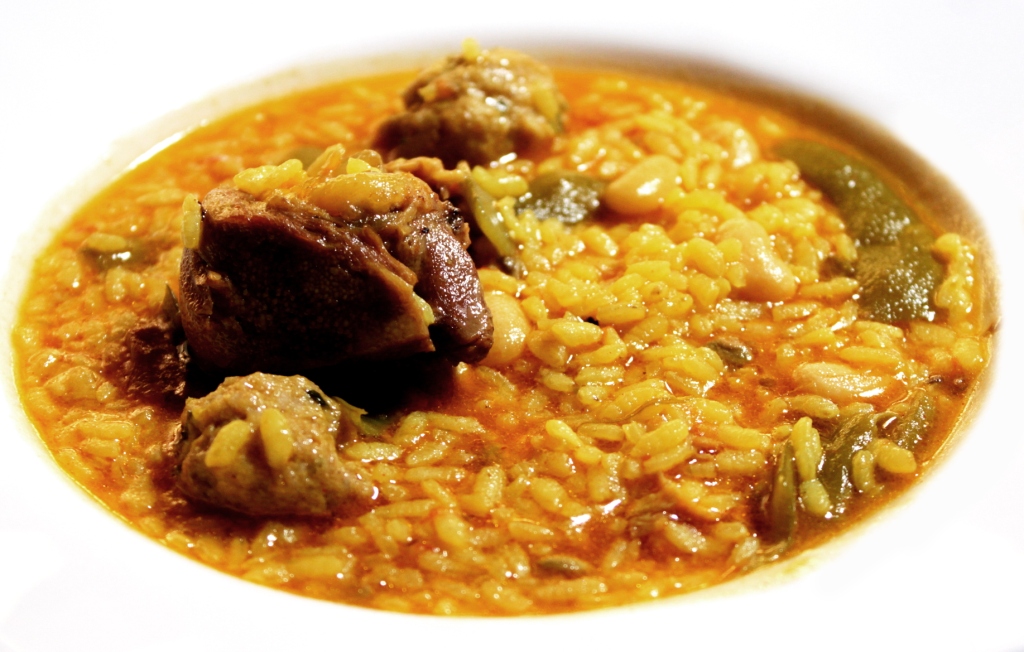
Serve with: your favourite red