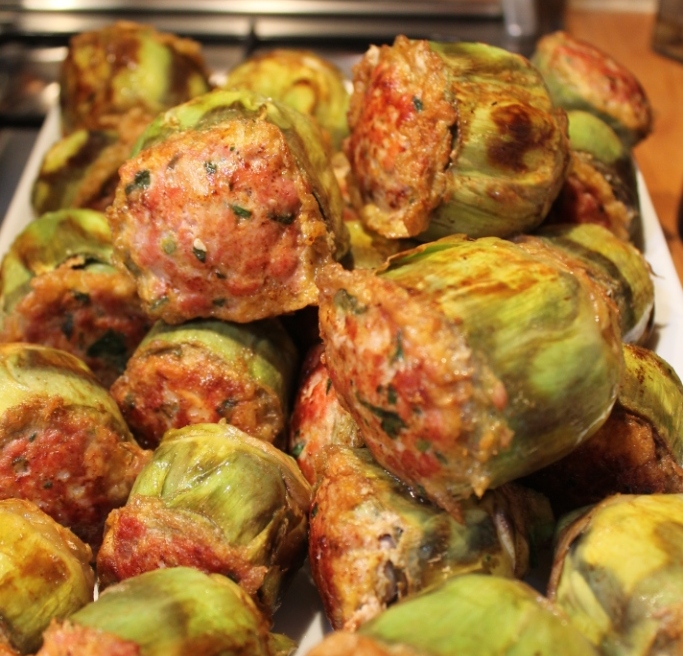
This would have to be my favourite artichoke recipe. Iaia and I cooked a double quanitity (24 artichokes) today for a family lunch, so don’t be put off by the sheer size of everything you see here.
To serve as a main course for four people, simply halve all of the ingredients and use a deep frying pan with a lid instead of the industrial saucepan you see here in the photos. The important thing is that the artichokes fit snugly in a single layer. And please, don’t skimp on the oil – there isn’t any other fat in the recipe, and you need to be generous to make sure it tastes fabulous!
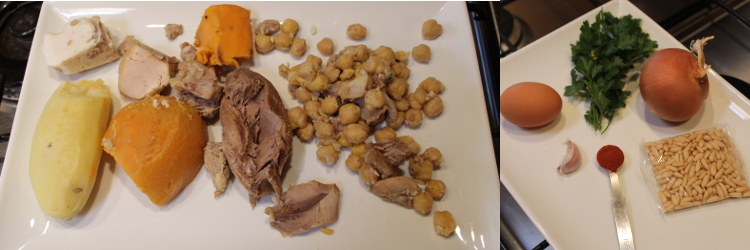
What you need for the stuffing:
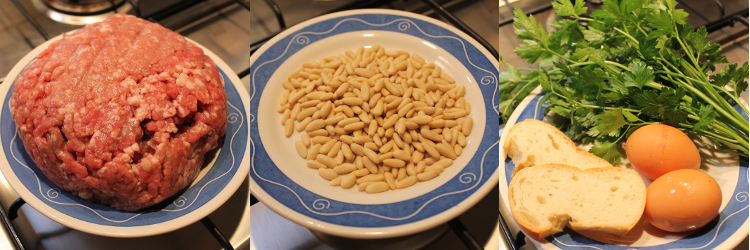
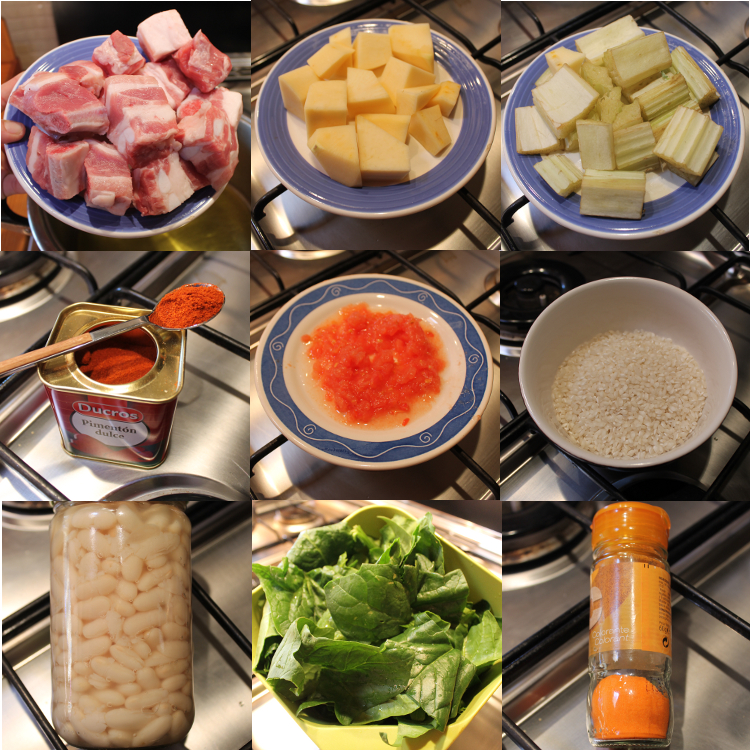
500g lean minced beef
500g minced pork
50g pine nuts
2 eggs, beaten
2 small slices of stale bread, soaked in…
…½ glass of milk
a good bunch of parsley, finely chopped
salt, pepper and ground nutmeg to taste
What you need for the gravy:
2 large onions, roughly chopped
2 or 3 carrots, roughly chopped
4 or 5 pear tomatoes halved
6 cloves of garlic, peeled and halved
a small bunch of parsley
1 tbsp flour
1 tbsp sweet paprika
750ml of good chicken or vegetable stock
75g whole raw almonds
salt to taste
Other ingredients:
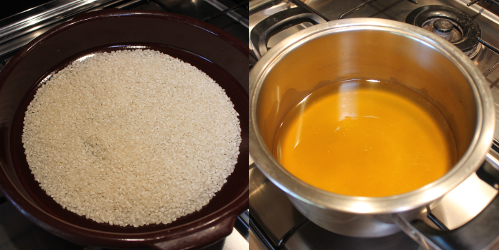
24 artichokes
250ml olive oil
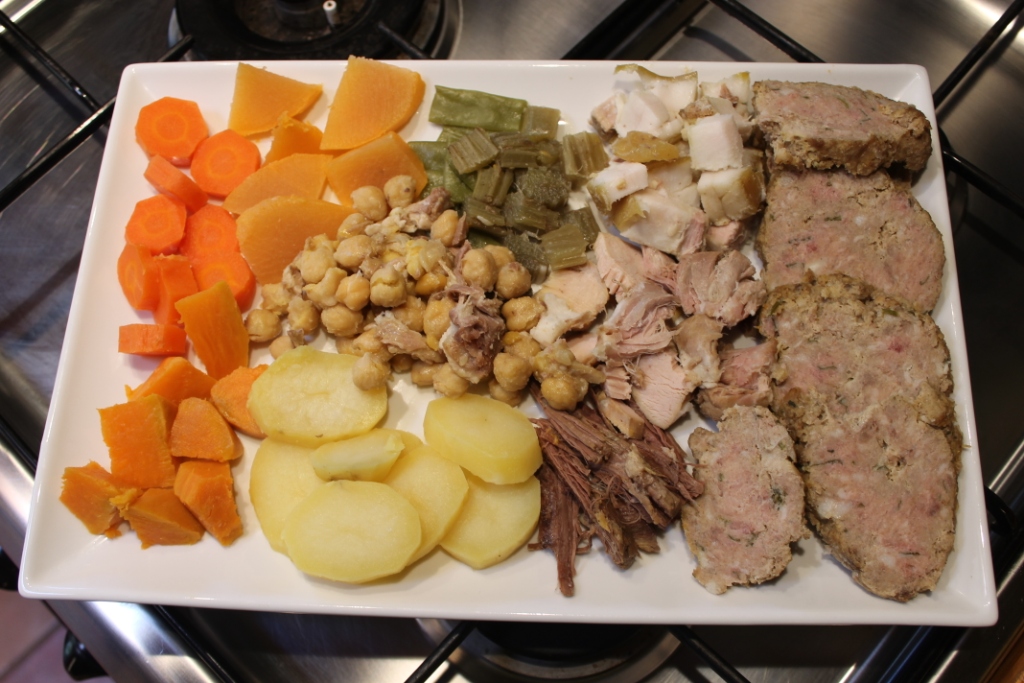
8 hard-boiled eggs
4 more carrots
extra stock
a large bowl of acidulated water
What you need to do:
Prepping the stuffing: If you can manage it,  it is best to make the stuffing mixture the day before you cook the dish itself. This will ensure that it has the perfect texture – not too dry, not too sloppy. Simply put all of the stuffing ingredients into a large bowl and mix well by hand. The mixture should feel a little loose at this stage. Cover with cling film and let rest in the fridge overnight.
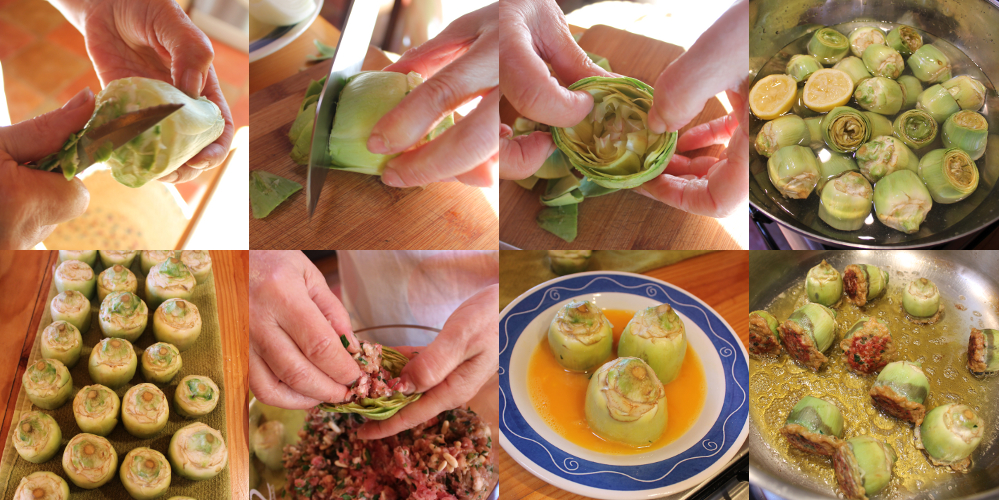
Prepping the artichokes: Have your bowl of acidulated water to hand; you will have to plop the prepped chokes into it, so they don’t go all grey and ugly. Trim the tough outer leaves from the artichokes, cut off most of the stem and then trim any very green parts off the base. Slice off the green leaf tips and use your thumbs to open the artichoke slightly in preparation for the stuffing. Fiddling with artichokes will stain your finger brown, so you might want to wear gloves! When you have finished them all, turn them upside down onto a tea towel to drain a bit before you stuff them. Now it’s time to stuff your artichokes with however
  much mince fits into each one. Once stuffed, you need to dip their tops in egg and fry them top down to seal the stuffing in. Once the tops have browned, turn them on their sides and continue to fry them for a few minutes to start the cooking process, then remove them from the heat and set them aside for the moment. It’s a bit of a palaver, but once you get a rhythm going, you’ll be fine.
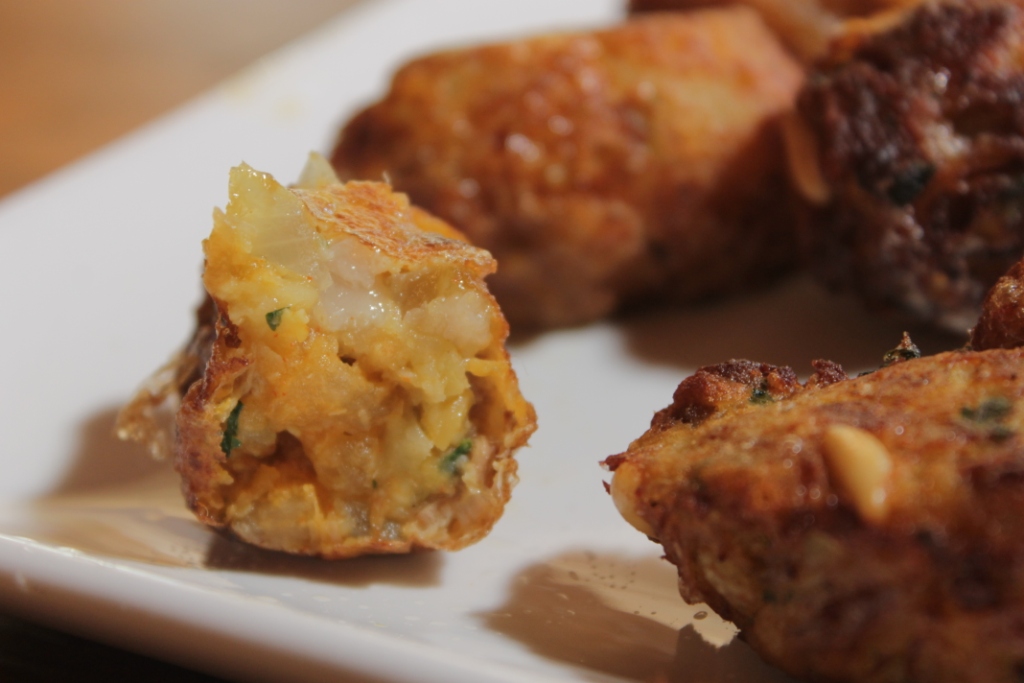
After stuffing, you will have some minced mixture left over. Roll into meatballs, coat in the remaining egg (as they have very little bread, we need the egg to bind them) and fry until golden. Remove and set aside.
Making the gravy:
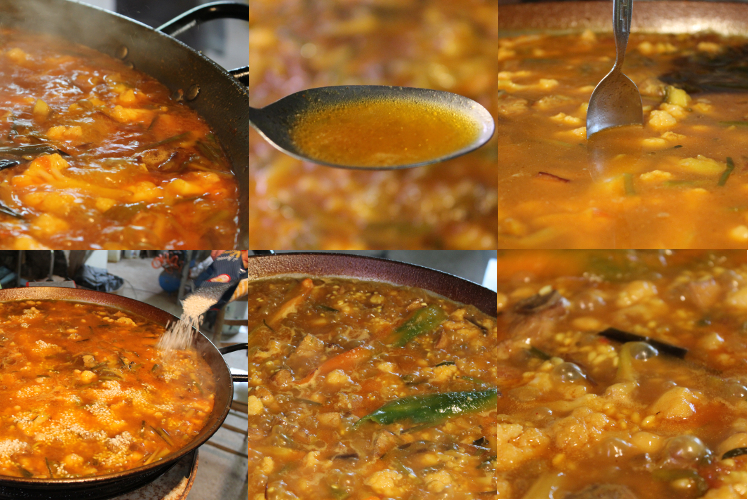
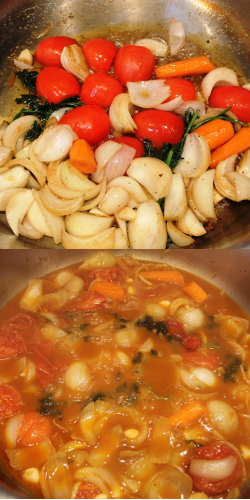
Use the same pan and the same oil to lightly fry the raw almonds.  Watch them closely and whip them out as soon as they get a blush of colour; if you leave them in, they will suddenly go dark and burn. We’ll be mixing them into the gravy later. For now, pop the parsley and garlic in and swizzle them around for a minute or so before adding the chopped onion, tomato and carrot. Fry all of this gently until the onion starts to soften. Before you add the stock, you need to fry the flour and paprika lightly. This will thicken and flavour the gravy beautifully. It’s also a good idea to remove the tomato skins at this point. Once that is done, pour in your stock. Iaia says that it is important not to put too much stock in, you can always add more, and this is gravy, not soup. You will have to judge the amount for yourself, but for this recipe, we used about 750ml at this point. Cover the pan and simmer until the veggies are soft enough to go through the blender. When you think they are, pour everything into a blender (or use a stick blender), add the almonds, and whizz it all into a smooth gravy. Adjust seasoning to your taste.
Putting it all together:
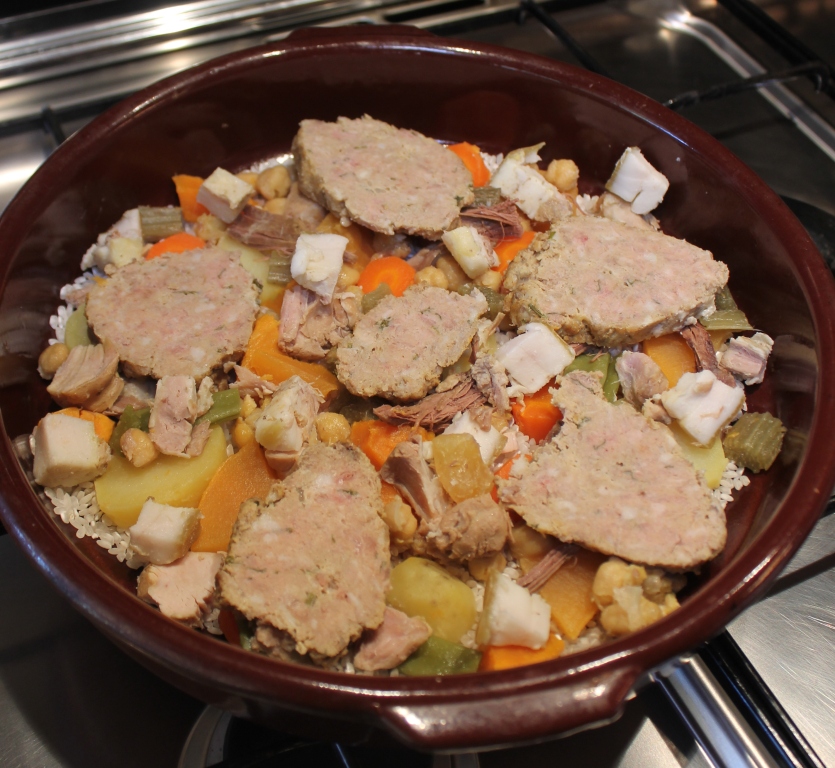
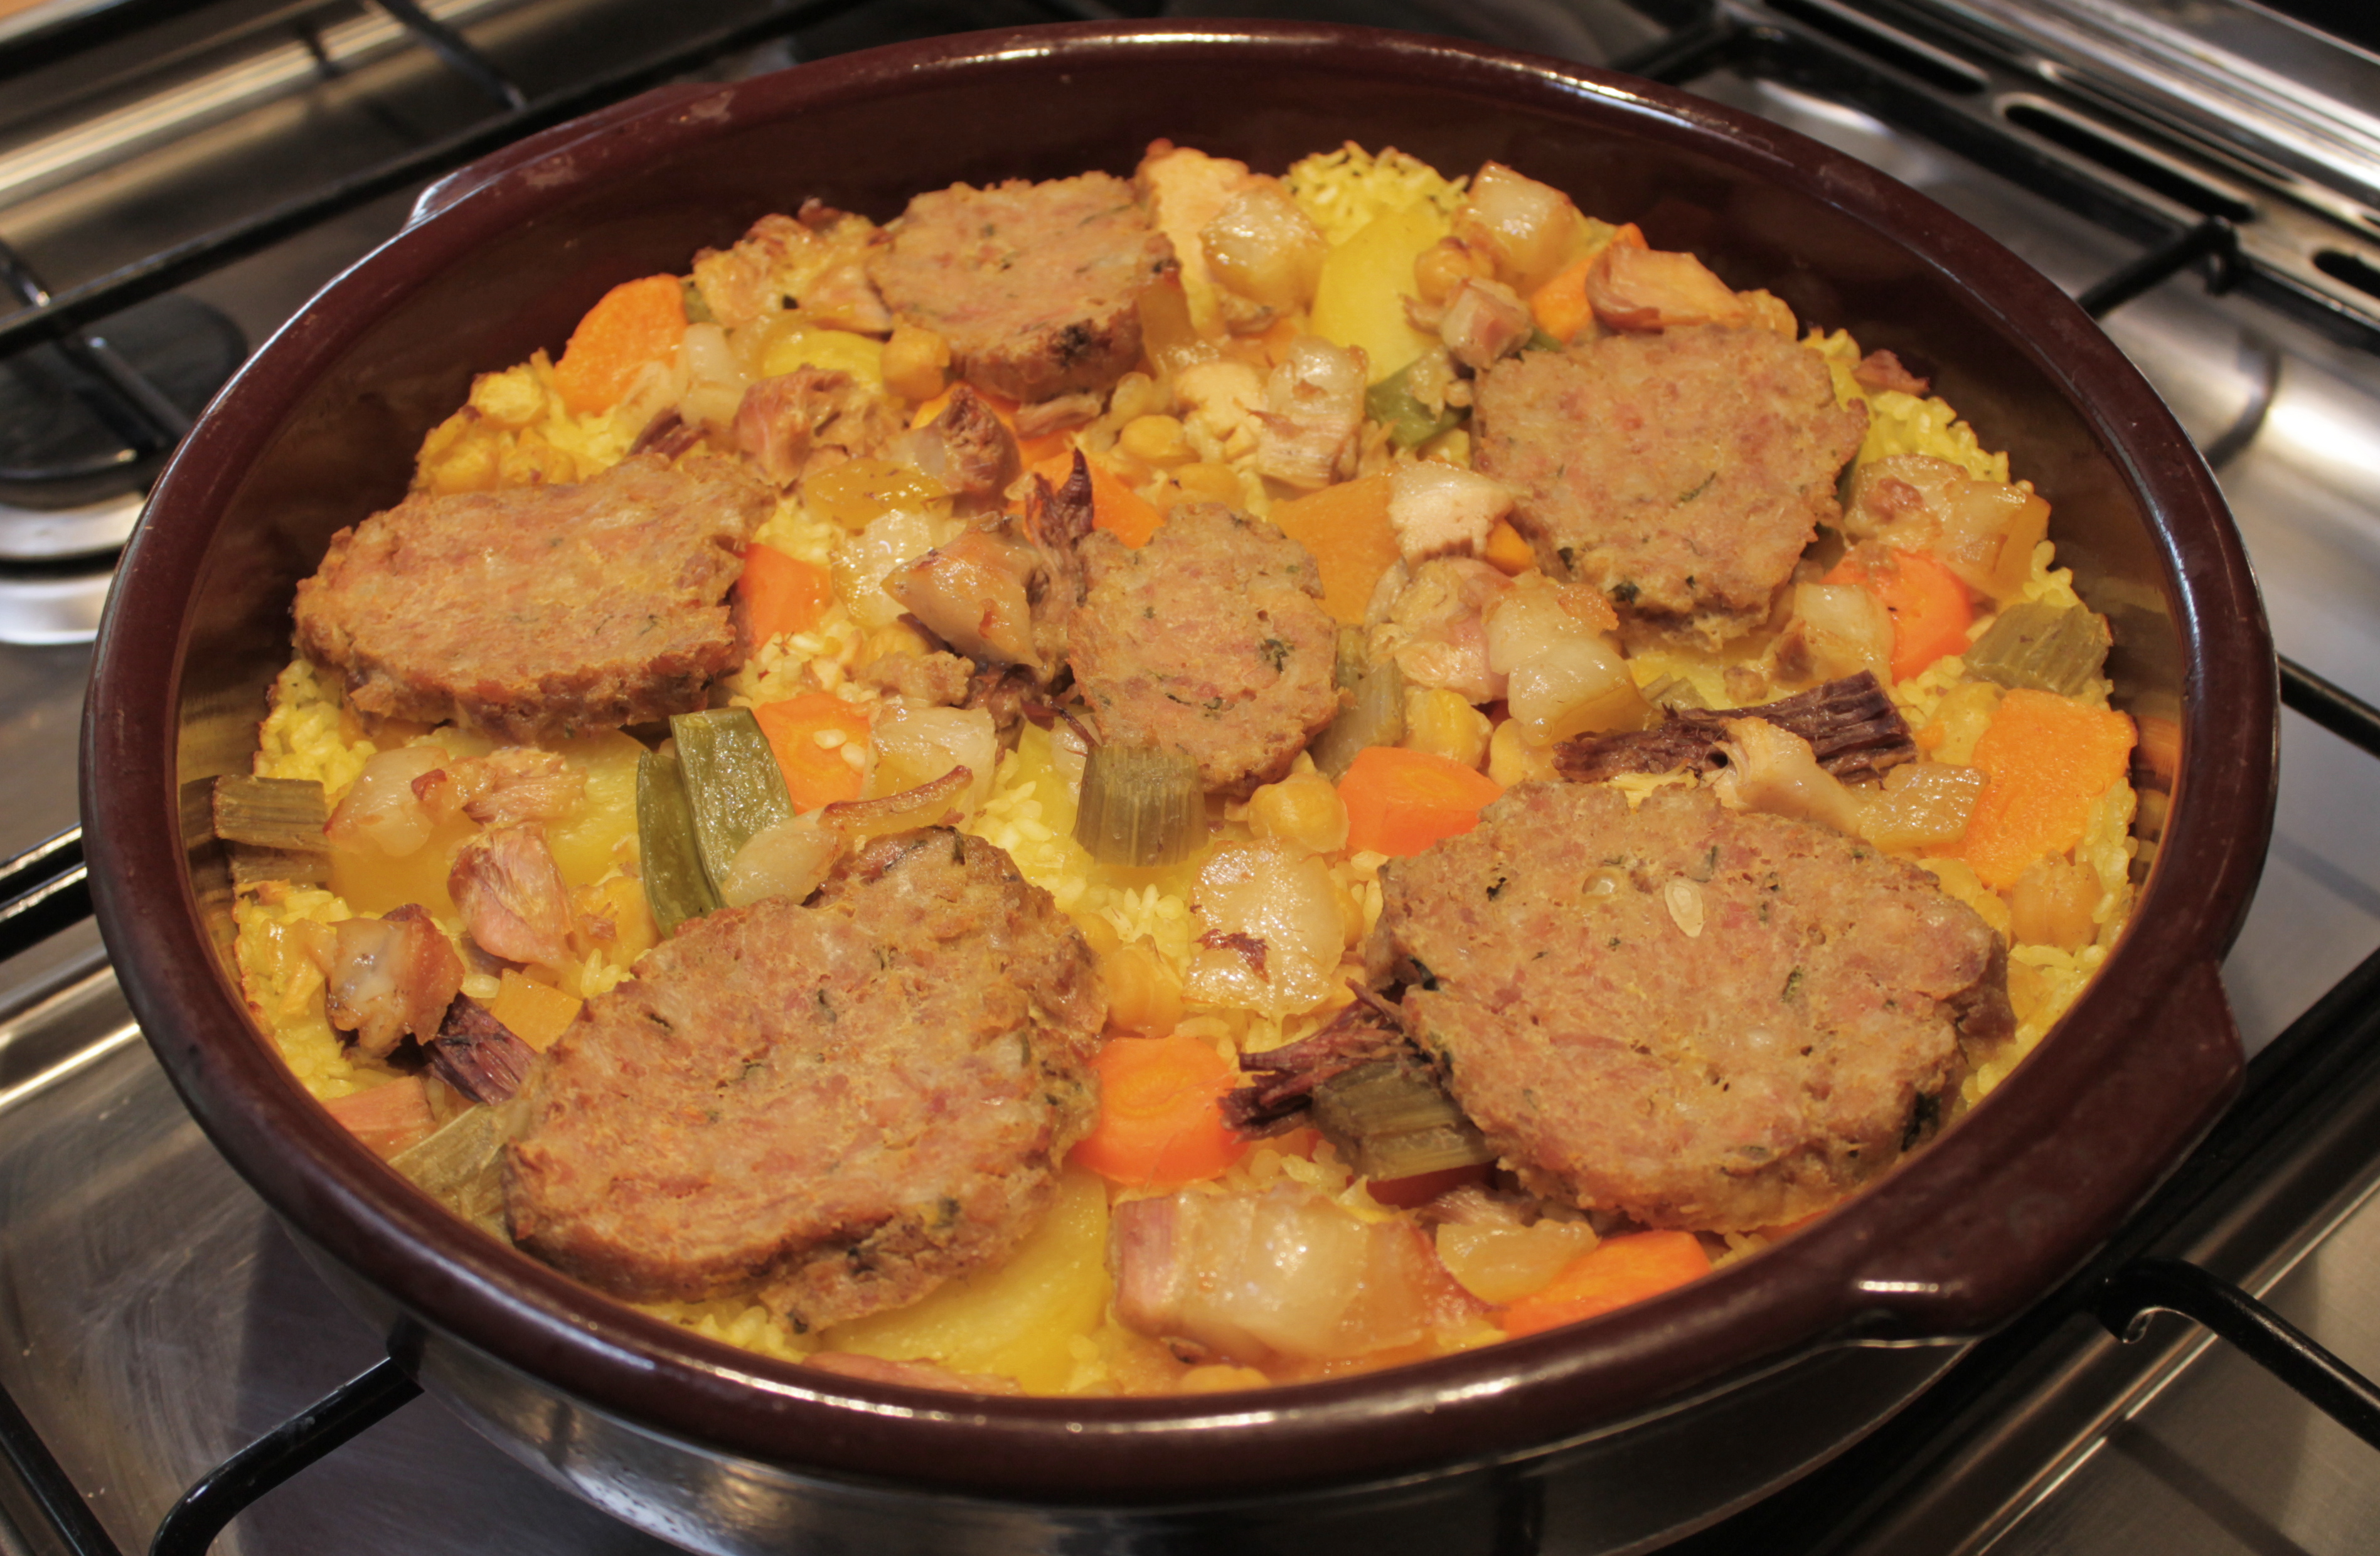
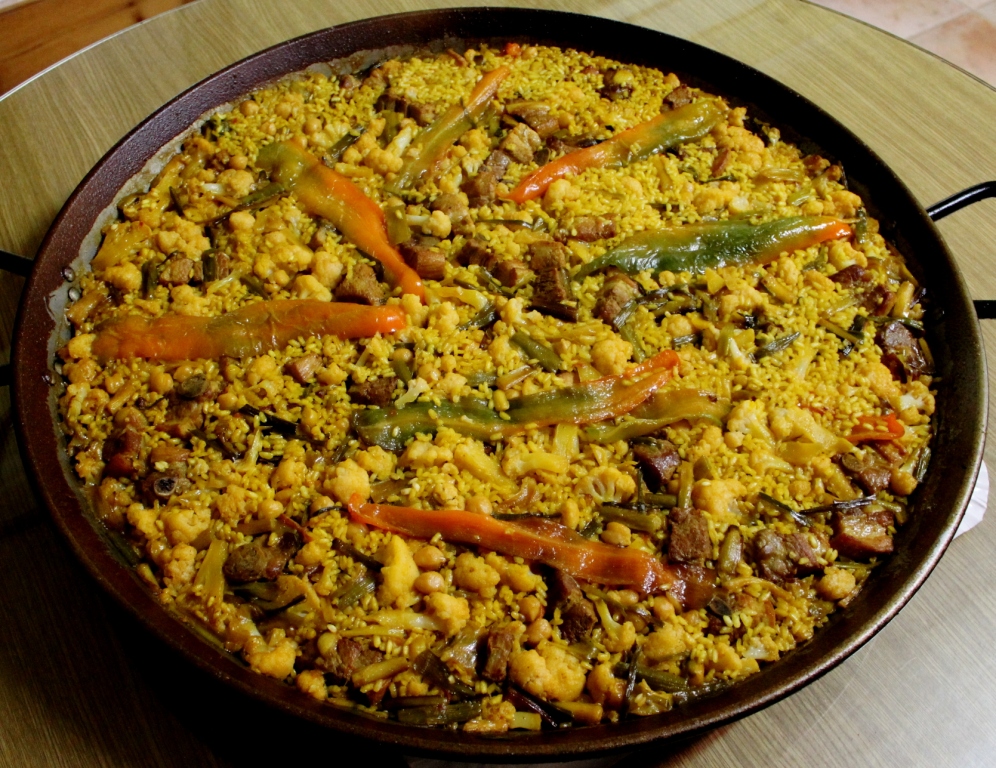
With your pan off the heat, put the 4  chopped carrots and meatballs on the base and arrange the artichokes carefully so that they all fit in one layer. The carrots and meatballs can be used to prop the artichokes up; you don’t want them rolling around and losing their insides. Pour in your blended gravy and, if necessary, add a little stock, so the artichokes are about ¾ covered. Heat on, bring to a boil, then turn down to a simmer. Cover the pan and let things bubble gently for about half an hour, or until a skewer passes easily through the base of the largest artichoke. Slice your boiled eggs in half and place them over and around the artichokes to warm through, and there you have it. Stuffed artichokes in a yummy gravy!

Serve with: crusty bread for the essential oop and your favourite bubbly.

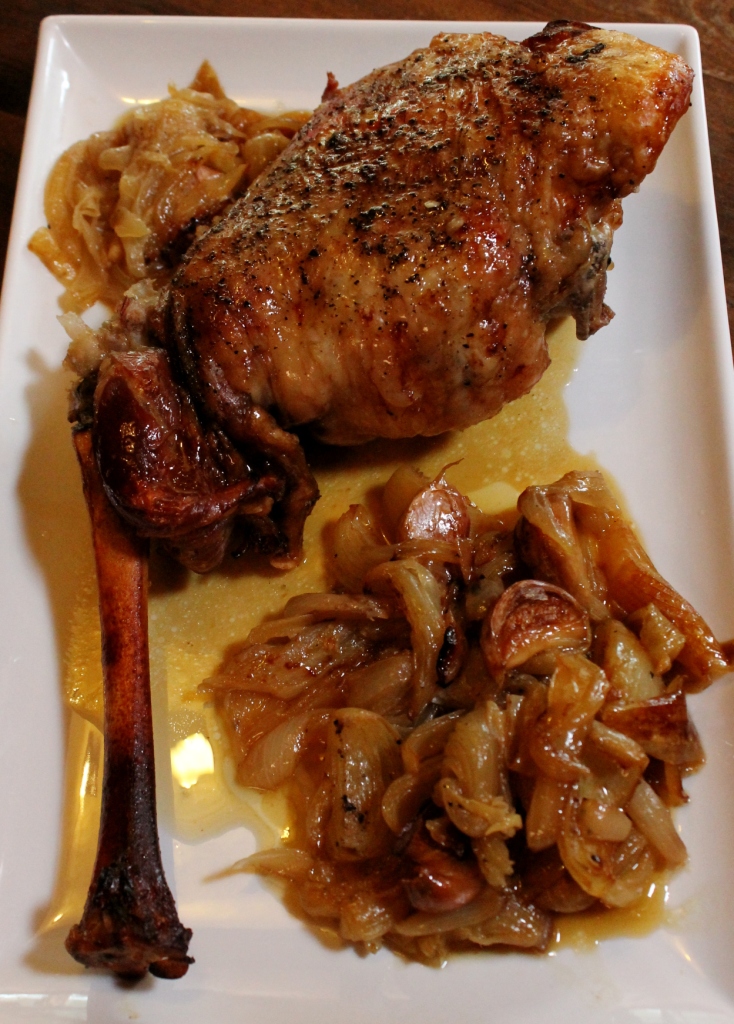
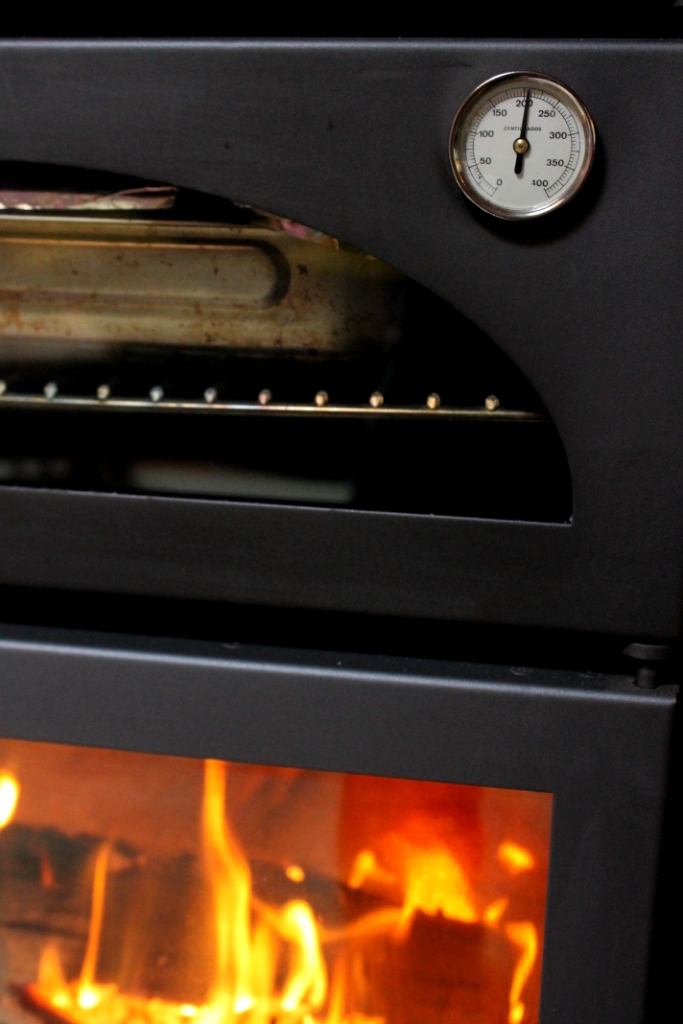 Not only does our little fireplace keep us warm throughout winter, but it also furnishes us with an extra oven, which I use constantly in the cold months for pizzas, rice and meat dishes and roast veggies. Today I cooked a Iaia-style leg of lamb with caramelised onions in it, and it behaved beautifully, staying really hot for the first half an hour or so and then gradually dropping down to about 160ºC by which time the lamb was perfect.